An organized garden shed can make gardening easier and more fun.
Spring has arrived in the northern hemisphere, and with it, the promise of brightly coloured flowers, overflowing planters and fragrant fruit trees. If you have a piece of property, chances are you also have a garden of some size and complexity and likely a shed to house the tools. So, along with turning the soil, top-soiling the grass and trimming the roses, why not set up for an organized garden shed as well?
No more fishing around for tools you thought you had, can’t remember if you lent out and need for trimming that Euonymus. Here’s a step by step process to get you off on the right path.
Step 1 – Empty the Shed
Start by completely emptying the entire shed if feasible. Once it is empty, you will be able to start with a clean slate. You will also be able to see what you have and inventory your tools and their condition.
Sweep out the cobwebs, mouse droppings and other debris.
Step 2 – Inventory and Assess Your Tools
Review all your tools, shovels, rakes and hoes. Are there any that are broken, rusted or beyond repair? Throw out the irreparable and fix what’s needed. Are there any that are redundant, never used and could use a better home with someone else? Keep only those tools that you know you will use. With an organized garden shed you will also be able to find them quickly and easily.
Step 3 – Get Creative Garden Shed Storage and Give Everything a Home
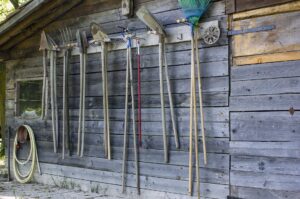
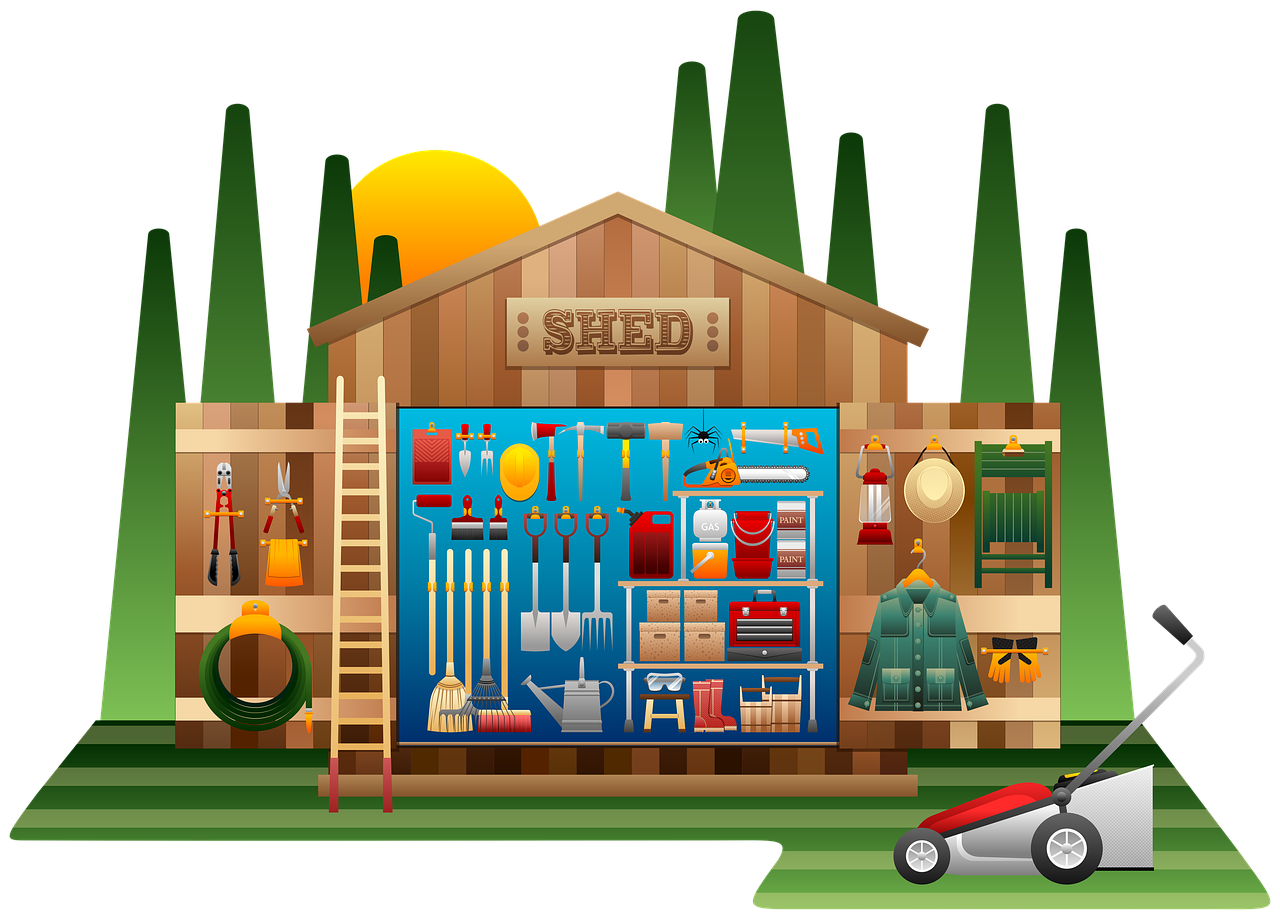
Think vertical and you will find lots more fresh storage space that you may not have realized existed. Use your creativity to organize your garden shed. The rakes, hoes, shovels can be stored on hooks or nails on the walls. This will get them out of the way and make them readily available when you are ready to rake. If you have the funds, many garden or home supply stores sell mountable devices specifically designed for hanging gardening tools such as rakes. If you are looking to organize using limited or no funds, use straight nails for hanging rakes, hoes, shovels and almost everything in the shed. Have some fun seeing how many tools you can actually hang for storage.
Hang one shopping bag on another hook or nail to hold your digging and planting tools and a separate one for your garden gloves. Cloth grocery bags, made from recycled plastic bags and readily available in stores, are a great storage tool. Label with a permanent marker or bright fabric paint. An alternative to hanging gloves and hand tools is to repurpose a wooden wind rack as a tool rack.
Items that are used on a daily basis or frequently during the week can be stored near the door on easy hooks or readily accessible shelves. Think secateurs for deadheading roses, trowel for pulling or upending weeds. Keep your garden gloves on the same shelf or hook beside – your tools are easy to grab for a quick 10 minutes of deadheading flowers each day.
Step 4 – Hide the Seeds from Wannabe Snackers!
Rodents and small animals would be delighted if you would just leave all those seeds out where they can help themselves. Let the squirrels find their own nuts and pack up the seeds to limit their scent and make it hard for animals to get access. Seeds that are stored in a plaster or metal box will be out of temptation’s way if rodents are a regular visitor to your shed. This is especially true of grass seed.
Step 5 – Keep Solutions Legal and Out of Reach
Review your solution bottles and know your pesticide by-laws. Many, if not all, jurisdictions have outlawed the use of pesticides. Check with your municipality to see where you can take the pesticides for disposal. Then check out your local garden centre to find an environmentally friendly alternative.
Even environmentally friendly products must be kept out of reach of children. Make sure your organized garden shed includes shelves high enough that curious children can’t get into solutions, anti-fungal products and plant food. Garden shed shelves, like tool hanging devices, can be expensive and fancy or inexpensive and simple. Most home supply stores carry industrial shelving of various sizes and strengths. Make sure to check the weight capacity, usually listed on packaging by individual shelf. If your shed is metal or plastic, you may be limited to commercial standalone shelves. With a wood shed, simple shelves can be constructed between the joists.
Step 6 – Use your Organized Garden Shed
An organized garden shed is easy to use and supports your interests in the garden. Try taking your shed for a test run. Can you easily find the tools you need? Can you just as easily put them away? Arp – e your daily use tools where you can get at them? Are the seeds safely sealed away from intruders? Have you kept only what you use and what you need?
Last step – as always, enjoy the fruits of your labours and the bounty of your garden.


Last year I helped my sister move an old bookcase from the basement to the shed and we were able to get everything off the floor – it was an amazing transformation!